
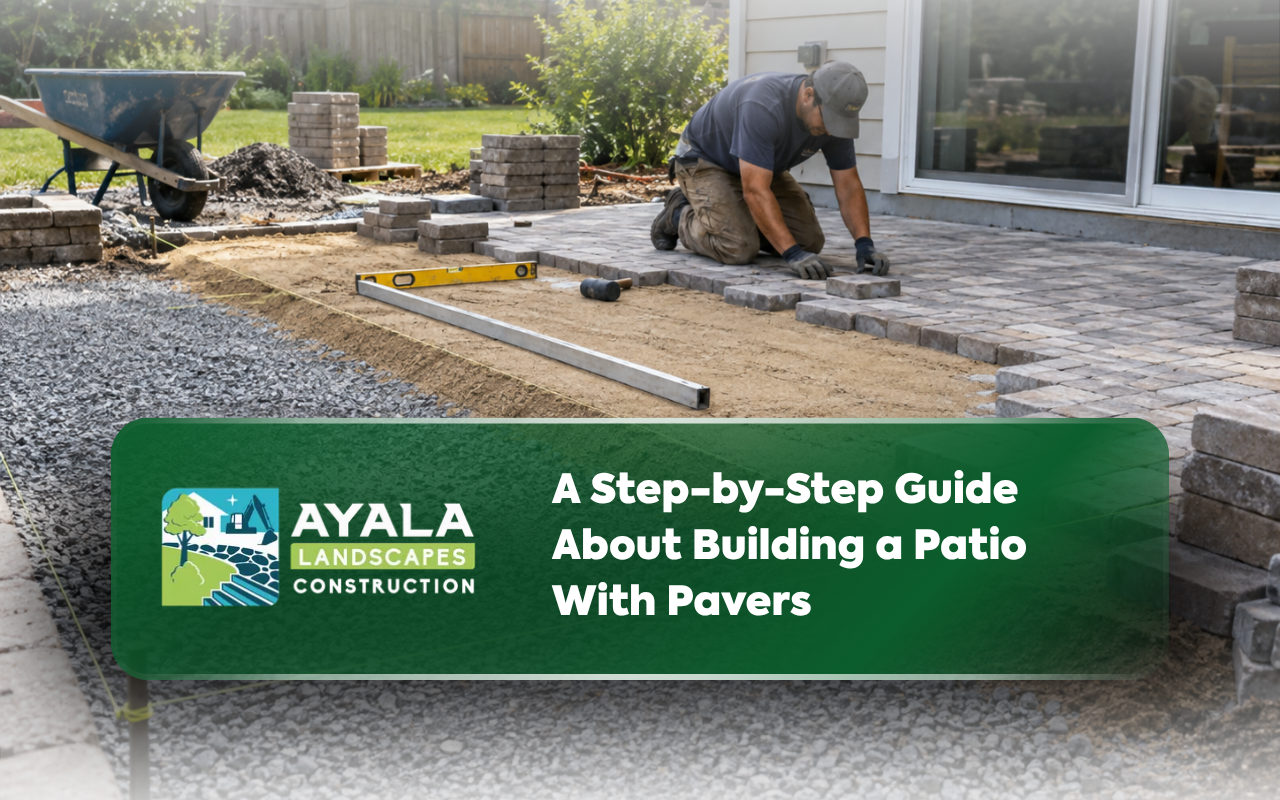
A well-planned paver patio can transform an unused outdoor area into a practical space for dining, gathering, relaxing, or serving customers. Strong results depend on material selection, layout, drainage, base preparation, edging, and accurate installation.
Learning how to build a patio with pavers can help property owners understand the work involved before choosing between a do-it-yourself project and professional installation. Pavers offer design flexibility for homes, restaurants, offices, rental properties, and other commercial spaces.
Ayala Landscapes Construction LLC has served local property owners since 2014. Review our complete patio building guide before planning your project.
Plan Your Patio Around Space and Daily Use
Before purchasing materials, determine how the patio will be used. A residential gathering space may need room for furniture, a grill, and walkways. A commercial patio may require additional seating, wider access routes, and surfaces suited to frequent traffic.
The layout should connect naturally with doors, walkways, gardens, parking areas, and surrounding hardscaping. Measuring the available area helps estimate materials and prevents the design from blocking important access points.
Planning Factors to Review
- Expected residential or commercial use
- Furniture, seating, and equipment placement
- Pedestrian traffic and accessible routes
- Existing slopes and drainage patterns
- Connections with doors and walkways
- Future landscaping or outdoor improvements
Choose Paver Materials That Match the Project
The first major decision is choosing the type of paver that best suits the property. Concrete, brick, natural stone, and permeable pavers provide different appearances, installation requirements, and maintenance expectations.
Color and texture should coordinate with the building and surrounding landscape. However, appearance should not be the only consideration. Traffic, moisture, maintenance, budget, and surface comfort also influence material selection.
Paver Material Comparison
| Paver Material | Suitable Uses | Design Character | Planning Consideration |
|---|---|---|---|
| Concrete pavers | Residential and commercial patios | Versatile, consistent, and customizable | Compare surface textures and system specifications |
| Brick pavers | Traditional patios and walkways | Warm, classic, and structured | Pattern and color variation affect the final look |
| Natural stone | Custom patios and garden settings | Organic, distinctive, and high-end | Thickness and irregular shapes require careful placement |
| Permeable pavers | Projects with site-specific runoff goals | Clean and functional | Requires a compatible base and joint system |
Explore our custom patio paver options when comparing materials, colors, patterns, and layouts.
Build a Patio Design Before Excavation Starts
A paver patio design and installation plan should balance appearance with daily function. Straight rectangular patios use space efficiently, while curved layouts can soften garden areas and follow natural landscape lines.
Borders, inlays, and contrasting colors can define dining or seating zones. However, too many patterns may make the surface look busy. One primary pattern with a coordinated border often creates a cleaner result.
A custom patio pavers installation project may include steps, walkways, seat walls, lighting, planting areas, or connections to other hardscape features. These additions should be planned before excavation begins.
Key Takeaway
Good patio design should solve layout, access, drainage, furniture placement, and long-term use before the first paver is installed.
Measure the Patio and Estimate Materials Carefully
Accurate measurements help determine the number of pavers, base materials, edging components, and joint materials needed. Measure the full installation area and identify curves, corners, steps, or obstacles.
Material estimates should include a reasonable allowance for cuts, pattern adjustments, and damaged pieces. Complex layouts usually require more cutting than straightforward rectangular patios.
Prepare a Stable Base for Patio Pavers
Proper paver patio base preparation is essential for a level and durable surface. The process starts by marking the patio and removing grass, roots, organic soil, and other unsuitable materials.
Excavation depth depends on soil, paver thickness, base system, expected traffic, and drainage. A fixed depth should not be applied to every property without evaluating these conditions.
Base Preparation Steps
- Mark the patio layout and confirm drainage direction.
- Remove grass, roots, and unsuitable surface material.
- Excavate according to soil, paver, and base requirements.
- Shape and compact the subgrade.
- Add aggregate in controlled layers.
- Compact each layer before adding the next.
- Install a thin, even bedding layer above the compacted base.
Plan Patio Drainage Before Placing Pavers
Drainage should be planned before the first paver is installed. The patio needs an appropriate slope that directs water away from buildings and vulnerable areas.
The correct direction depends on existing grades, surrounding landscaping, soil, roof runoff, and approved drainage areas. Water should not be directed toward foundations, neighboring properties, or erosion-prone areas.
Key Takeaway
Drainage, base preparation, and grading should be solved before pavers are placed, not corrected after the patio is finished.
Follow the Patio Paver Installation Process Carefully
The process of building a patio with pavers requires careful sequencing. Skipping excavation, compaction, drainage, or edging may create problems that become more expensive to correct later.
Patio Paver Installation Steps
- Mark and measure the complete patio layout.
- Remove unsuitable surface materials and excavate the area.
- Shape and compact the underlying soil.
- Install and compact the specified aggregate base.
- Prepare a smooth and consistent bedding layer.
- Place pavers according to the selected pattern.
- Cut perimeter pieces and install edge restraints.
- Add joint material and complete final compaction.
Installers typically begin along a straight reference edge or another planned starting point. String lines and layout guides help maintain alignment. Pavers should be placed without disturbing the prepared bedding layer.
Secure Patio Edges to Prevent Paver Movement
Edge restraints help preserve the patio’s shape and prevent the outer pavers from spreading. The restraint should be compatible with the selected pavers, base, layout, and surrounding surface.
Decorative border pavers do not always replace structural restraint. A border may improve appearance, but the perimeter still needs support suited to the installation.
Avoid Common Patio Paver Installation Mistakes
A weak base is one of the most common causes of sinking or shifting pavers. Proper excavation and compaction require more time, but they support the entire patio.
Common Mistakes to Avoid
- Beginning construction without a complete layout
- Ignoring existing runoff and roof drainage
- Installing base material without layered compaction
- Using bedding material to correct base problems
- Forgetting structural edge restraints
- Choosing materials based only on appearance
Compare Professional and DIY Patio Installation
A small, simple patio may be manageable for a homeowner with the appropriate tools, time, and experience. However, excavation, grading, compaction, cutting, and drainage planning can make larger projects more demanding.
Commercial patios require additional attention because they may experience frequent traffic, moving furniture, deliveries, events, and customer use. Installation may also need to coordinate with entrances, lighting, landscaping, and business operations.
A professional patio paver installation service can manage the complete process, from evaluation and material planning through final compaction. Review our complete professional paver services when comparing installation options.
Maintain Paver Patios After Installation
Routine care helps preserve the patio’s appearance and keeps small concerns from becoming more extensive. Sweep away leaves, soil, and debris before they collect in joints or hold moisture against the surface.
Inspect the patio periodically for missing joint sand, movement, stains, or drainage problems. Individual damaged pavers can often be replaced without rebuilding the entire surface.
Frequently Asked Questions About Custom Paver Patio Installation
How long does professional patio installation usually take?
The schedule depends on patio size, design, excavation, access, weather, materials, and additional features. Complex borders, steps, walls, or drainage work can extend the timeline.
How deep should a paver patio base be?
Required depth depends on soil, drainage, paver thickness, base materials, and expected traffic. The site should be evaluated before selecting excavation and base specifications.
Can pavers be installed over an existing patio?
In some situations, an existing surface may be usable. However, its condition, elevation, drainage, movement, and connection with surrounding areas must be evaluated first.
What matters most when building a patio with pavers?
Layout, drainage, excavation, compacted base layers, edge restraints, paver alignment, and joint material all influence long-term patio performance.
Do all paver patios need edge restraints?
Open perimeter areas generally need structural restraint to reduce outward movement. Existing foundations, curbs, or fixed structures may support specific edges.
Start Planning Your Custom Outdoor Patio Project
A successful custom paver patio installation combines planning, suitable materials, base preparation, drainage, edging, and accurate placement. These elements create a functional patio for residential or commercial use.
At Ayala Landscapes Construction LLC, we provide licensed, insured, and BBB-certified service backed by experience dating to 2014. Our team can evaluate the space and explain design and installation options suited to the property.
Ready to plan your outdoor improvement? Request your free estimate from Ayala Landscapes Construction LLC.