A brick patio adds timeless charm and durability to any outdoor space. Whether you want a cozy backyard retreat or a functional commercial patio, learning how to build a brick patio can help create a stylish and lasting surface. Fortunately, the process is easier than you might think. With proper planning and careful execution, you can transform your outdoor area into a beautiful and inviting space. Let’s go through the essential steps to get started.
Planning Your Brick Patio
Choose the Right Brick Pavers
Before you begin, selecting the right brick pavers is crucial. The type of brick you choose will affect both durability and appearance. Here are a few options:
- Clay bricks – Traditional and durable with a natural color.
- Concrete bricks – These are more affordable and available in various shades.
- Reclaimed bricks – Eco-friendly and full of unique character.
Since different bricks offer different aesthetics, consider the look you want for your patio before making a final decision.
Measure and Mark the Area
- First, determine the patio’s size and shape.
- Then, mark the area using stakes and string to outline the perimeter.
- After that, double-check the layout to ensure it fits your space and provides enough room for furniture and foot traffic.
Gather Materials and Tools
To build a brick patio, you’ll need a few essential supplies. Having everything ready in advance makes installation easier. Here’s what you should prepare:
- Bricks
- Gravel and sand
- A tamper and level
- A rubber mallet
- A rake and shovel
- A broom and hose
With all your tools on hand, you’ll be able to complete the project more efficiently.
Step-by-Step Guide to Building a Brick Patio
1. Prepare the Base
- Start by excavating the marked area to about 6-8 inches deep.
- Remove grass, roots, and any debris to create a clean foundation.
- Then, spread a 4-inch layer of gravel and compact it using a tamper.
- Next, level 1-2 inches of sand to create a smooth surface.
A well-prepared base ensures the bricks remain stable for years to come.
2. Lay the Bricks
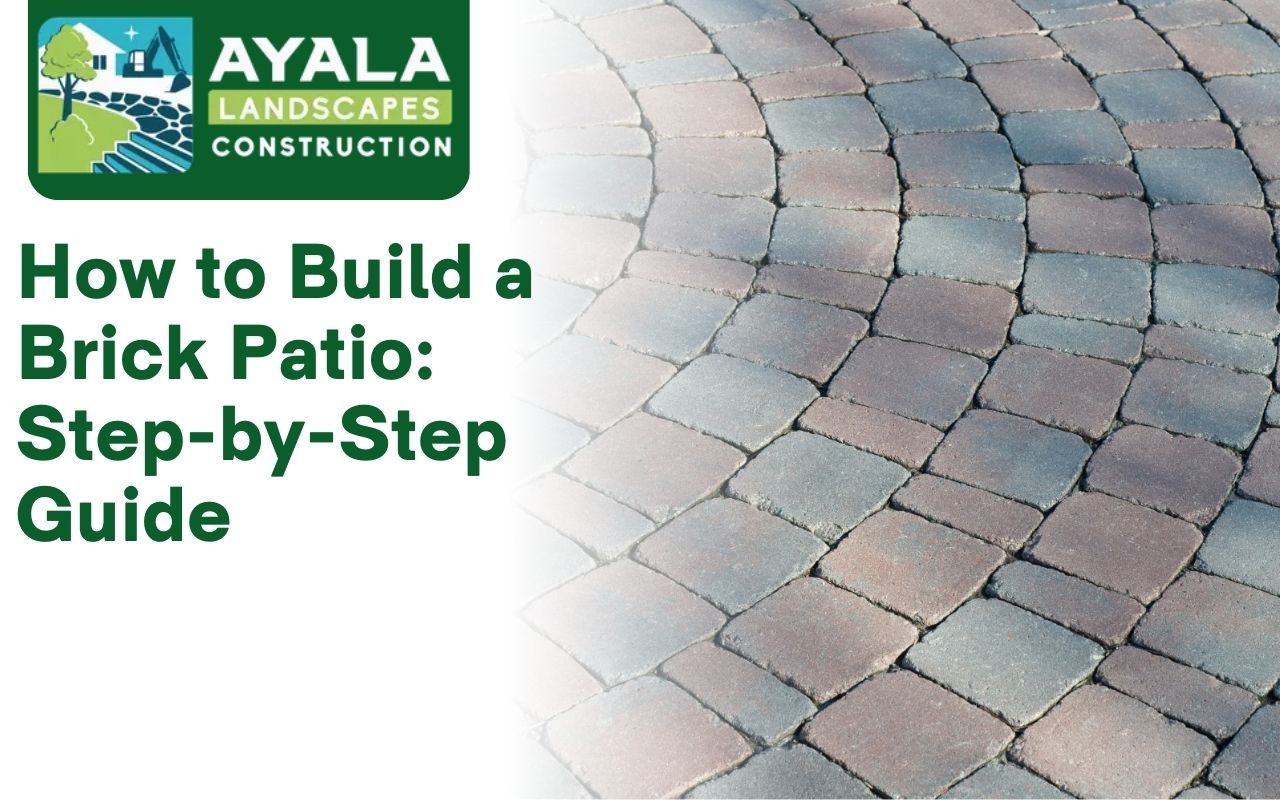
- Begin placing bricks in your chosen pattern, such as herringbone, basketweave, or running bond.
- As you work, tap each brick gently with a rubber mallet to secure it.
- Keep spacing consistent, and use a level frequently to ensure an even surface.
Taking your time during this step will prevent shifting or unevenness later on.
3. Secure the Edges
- Install edge restraints around the patio to keep the bricks from moving over time.
- This step is essential because it helps maintain the patio’s shape and prevents shifting due to foot traffic or weather changes.
4. Fill the Joints
- After all the bricks are in place, spread fine sand over the surface.
- Then, use a broom to sweep the sand into the gaps between the bricks.
- Lightly mist the surface with water to help the sand settle.
- Repeat this process until all the joints are tightly packed.
Properly filling the joints keeps the patio sturdy and prevents weeds from growing between the bricks.
Brick Patio Maintenance Tips
Regular Cleaning
- First, sweep the surface weekly to remove dirt and debris.
- Then, use mild soap and water for deep cleaning when necessary.
- Avoid harsh chemicals that can damage the bricks.
Sealing for Protection
Applying a sealant every 2-3 years helps protect the bricks from moisture, stains, and fading. This simple step extends the life of your patio and keeps it looking new.
Replacing Damaged Bricks
If a brick cracks, there’s no need to worry! Simply remove the damaged piece and replace it with a new one. Since brick patios don’t require large repairs, maintenance is both easy and cost-effective.
Start Your Brick Patio Project Today
Now that you know how to build a brick patio, you can create a stylish and functional outdoor space. Whether planning a backyard retreat or upgrading a commercial space, a well-built brick patio adds value and durability. For professional installation, contact us at (253) 754-5370 for a free estimate!